
安装miniconda
下载地址:https://mirrors.tuna.tsinghua.edu.cn/anaconda/miniconda/Miniconda3-py39_4.9.2-Windows-x86_64.exe
安装后在命令行看是否安装成功
conda -V
conda env list
国内的镜像
conda config --remove-key channels
conda config --add channels https://mirrors.tuna.tsinghua.edu.cn/anaconda/pkgs/free/
conda config --add channels https://mirrors.tuna.tsinghua.edu.cn/anaconda/pkgs/main/
conda config --add channels https://mirrors.tuna.tsinghua.edu.cn/anaconda/cloud/pytorch/
conda config --set show_channel_urls yes
pip config set global.index-url https://pypi.tuna.tsinghua.edu.cn/simple

后面如果使用过程,出现404直接用命令还原
conda config –remove-key channels
看配置是否生效
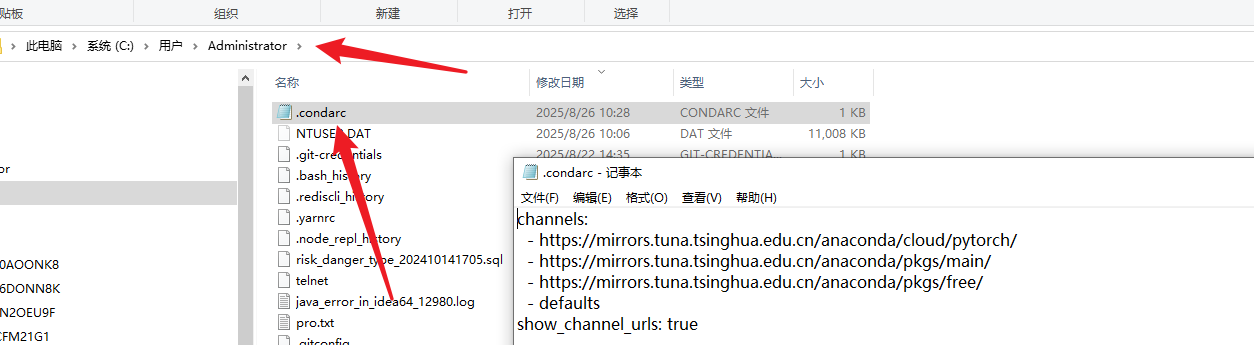
channels:
https://mirrors.tuna.tsinghua.edu.cn/anaconda/cloud/pytorch/https://mirrors.tuna.tsinghua.edu.cn/anaconda/pkgs/main/https://mirrors.tuna.tsinghua.edu.cn/anaconda/pkgs/free/defaults
show_channel_urls: true
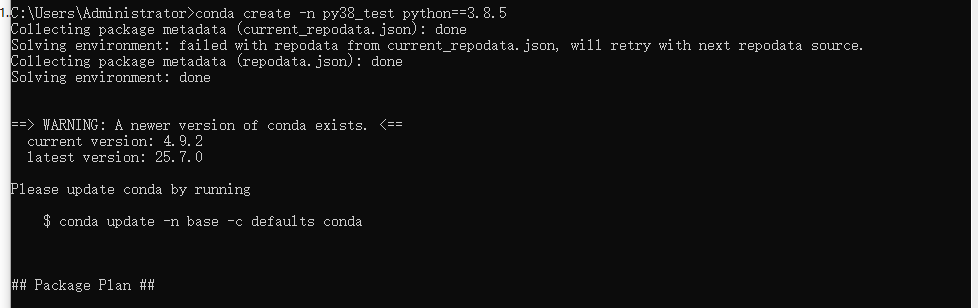
如何创建一个环境
conda create -n py38_test python==3.8.5


自己安装显卡驱动
安装完成后

pytorch安装(gpu版本和cpu版本的安装)
实际测试情况是YOLOv5在CPU和GPU的情况下均可使用,不过在CPU的条件下训练那个速度会令人发指,所以有条件的小伙伴一定要安装GPU版本的Pytorch,没有条件的小伙伴最好是租服务器来使用。
需要注意以下几点:
安装之前一定要先更新你的显卡驱动,去官网下载对应型号的驱动安装
10、20系显卡只能使用cuda10的版本
一定要创建虚拟环境,这样的话各个深度学习框架之间不发生冲突
我这里创建的是python3.8的环境,安装的Pytorch的版本是1.8.0,命令如下:
conda install pytorch==1.8.0 torchvision torchaudio cudatoolkit=10.2 # 注意这条命令指定Pytorch的版本和cuda的版本  10、20系列的显卡
conda install pytorch==1.10.0 torchvision torchaudio cudatoolkit=11.3 # 30系列以上显卡gpu版本pytorch安装指令
conda install pytorch==1.8.0 torchvision==0.9.0 torchaudio==0.8.0 cpuonly # CPU的小伙伴直接执行这条命令即可
我这里直接用
conda install pytorch==1.8.0 torchvision torchaudio cudatoolkit=10.2

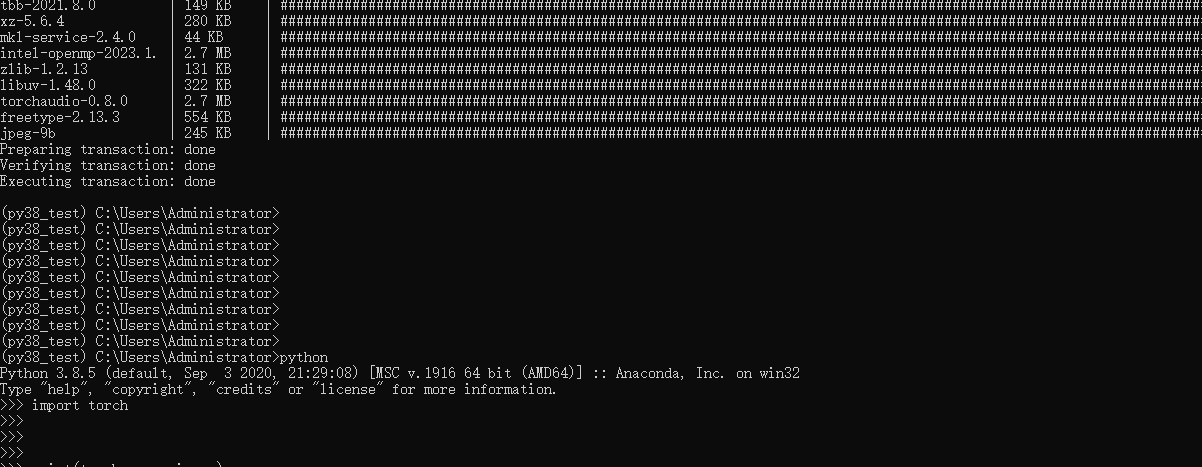
验证
(py38_test) C:UsersAdministrator>python
Python 3.8.5 (default, Sep  3 2020, 21:29:08) [MSC v.1916 64 bit (AMD64)] :: Anaconda, Inc. on win32
Type "help", "copyright", "credits" or "license" for more information.
>>> import torch
>>>
>>>
>>>
>>> print(torch.__version__)
1.8.0
>>> print(torch.cuda.is_available())
True
>>>
安装python310环境
conda create -n py310 python==3.10.0
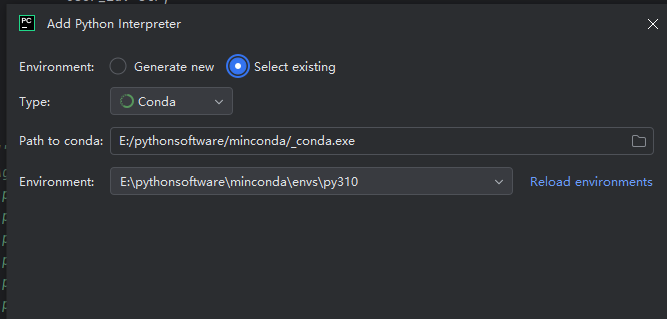
安装后与pycharm关联


© 版权声明
文章版权归作者所有,未经允许请勿转载。
相关文章


暂无评论...


![[理论篇-10]AI 工作流(AI Workflow)—— 让 AI 像流水线一样干活](https://www.dunling.com/img/3.jpg)