
1、先git拉一套sentinel代码,跑起来
https://gitee.com/52itstyle/sentinel-dashboard.git
2、创建个Boot项目,pom引入如下配置
    <parent>
        <groupId>org.springframework.boot</groupId>
        <artifactId>spring-boot-starter-parent</artifactId>
        <version>2.1.5.RELEASE</version>
        <relativePath/>
    </parent>
    <dependencies>
        <dependency>
            <groupId>org.springframework.boot</groupId>
            <artifactId>spring-boot-starter-web</artifactId>
        </dependency>
        <dependency>
            <groupId>com.alibaba.cloud</groupId>
            <artifactId>spring-cloud-starter-alibaba-sentinel</artifactId>
        </dependency>
    </dependencies>

    <dependencyManagement>
        <!--注意跟 SpringBoot 保持一致 2.1.x for Spring Boot 2.1.x-->
        <dependencies>
            <dependency>
                <groupId>com.alibaba.cloud</groupId>
                <artifactId>spring-cloud-alibaba-dependencies</artifactId>
                <version>2.1.0.RELEASE</version>
                <type>pom</type>
                <scope>import</scope>
            </dependency>
        </dependencies>
    </dependencyManagement>
3、配置yml
server.port=8080
# sentinel控制台显示的名字
spring.application.name=blog
# sentinel控制台加流控的时候能看见
spring.cloud.sentinel.transport.port=8720
# 这里替换成自己的sentinel控制台地址
spring.cloud.sentinel.transport.dashboard=localhost:8084
这里的 spring.cloud.sentinel.transport.port 端口配置会在应用对应的机器上启动一个 Http Server,该 Server 会与 Sentinel 控制台做交互。列如 Sentinel 控制台添加了1个限流规则,会把规则数据 push 给这个 Http Server 接收,Http Server 再将规则注册到 Sentinel 中。
4、模拟个接口
@RestController
@RequestMapping("test")
public class TestController {

    @RequestMapping("page")
    @SentinelResource("blogView")
    public String page() {
        return "article";
    }
}
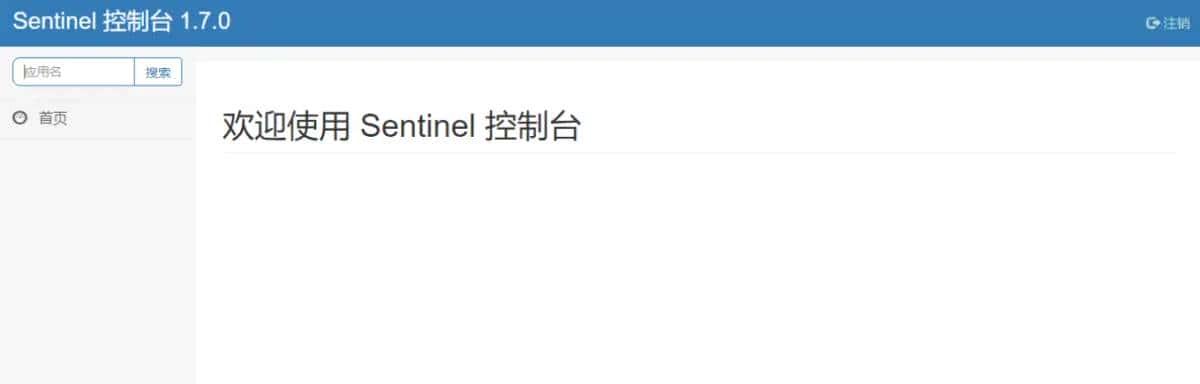
5、然后跑起来访问接口,由于有必定的延迟,过几秒去控制台刷新一下,就有了如下页面
http://localhost:8080/test/page

6、默认流控规则是存到nacos的,其他的不存,所以必定要注意
系统规则想存nacos的,访问我大哥的文章,他进行了二次开发
https://www.jianshu.com/p/cc4d0604547f
7、接下来就可以进行限流的操作了,具体怎么配置,看看教程
推荐一个http://www.cbww.cn/news/47361.shtml
© 版权声明
文章版权归作者所有,未经允许请勿转载。
相关文章


暂无评论...